IMPLANT AND VENEER RESTORATIONS FOR THE TREATMENT OF TMJ PAIN USING OUR WIRELESS AORALSCAN 3 INTRAORAL SCANNER
With the widespread use of intraoral scanners, dentists are incorporating them into their daily practice to address problems such as missing teeth, malocclusion, and caries. In this case, Dr. Sai utilized the Aoralscan 3 Wireless, an intraoral scanner manufactured by SHINING 3D to treat TMJ pain.
Case Profile
The patient, a 48-year-old woman, had been suffering from TMJ pain for years. However, the situation has worsened recently, affecting her sleep and normal oral function to the point where she can no longer tolerate it. Seeking help from Dr. Sai, she hoped to find a long-term solution to this problem.
Diagnosis and Treatment Plan
Upon the patient’s arrival, Dr. Sai performed a comprehensive examination on her, taking facial pictures and panoramic radiographs to record the initial state.
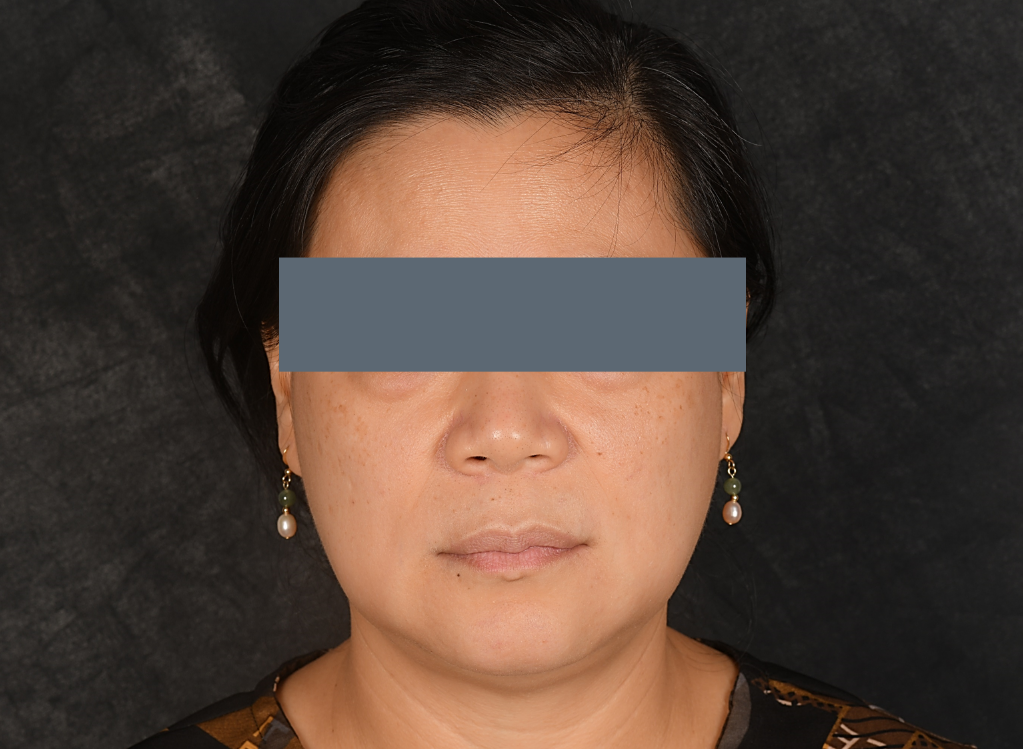
Fig 1: The front facial picture
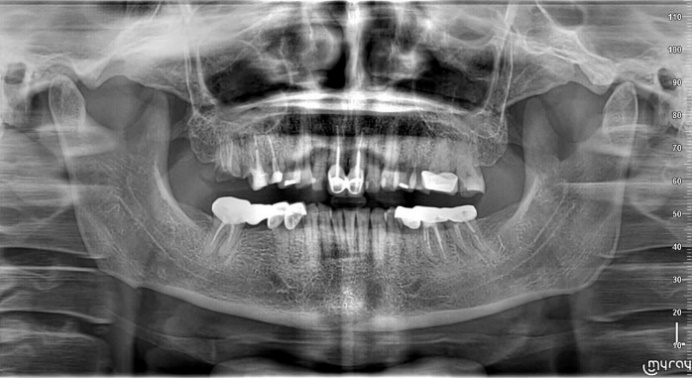
Fig 2: The panoramic radiograph before treatment
To accurately diagnose her occlusion and TMJ, Dr. Sai used Koi’s Deprogrammer, a removable plastic device that covers the hard palate and creates a single point of contact between the lower central incisors and the anterior occlusal plane. This appliance is employed for assessing the stability of a patient’s bite, particularly when dentists are attempting to determine the optimal jaw position.
Fig 3,4,5: Complete intraoral views with Koi’s Deprogrammer
Fig 6,7: Complete intraoral occlusal views with Koi’s Deprogrammer
Considering the long-term stability and cost of the treatment, the final plan is to first repair #16 and #17 with implant restorations. After repairing the upper jaw, #46 and #44 will also receive implant restorations. Additionally, Dr. Sai will repair the lower jaw with veneers and crowns, leaving the rest of the upper jaw unchanged.
Treatment Process: Implant Surgery
During the implant surgery, Dr. Sai exposed the surgical area, placed the implant body in the correct position and sutured the gingiva.
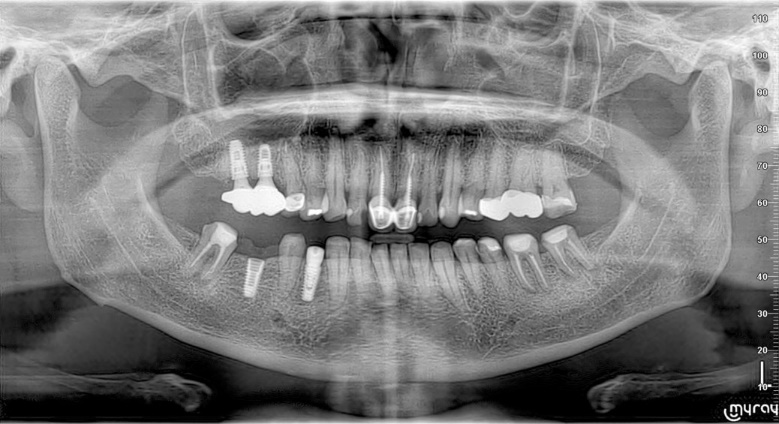
Fig 8: The panoramic radiograph after implant surgery.
Treatment Process: Physical Mockup And Teeth Preparation
To achieve a good aesthetic result, Dr. Sai created a physical mockup to gather feedback from the patient. After obtaining the patient’s approval, Dr. Sai proceeded with teeth preparation and minimized tooth removal, thus preserving more tissue for the patient.
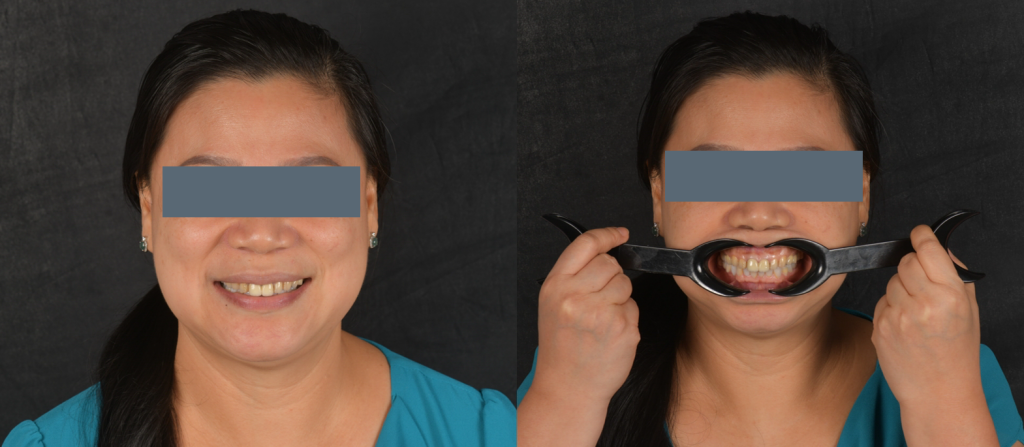
Fig 9: Patient’s smile with the physical mockup
Fig 10,11,12: Patient’s intraoral views with the physical mockup
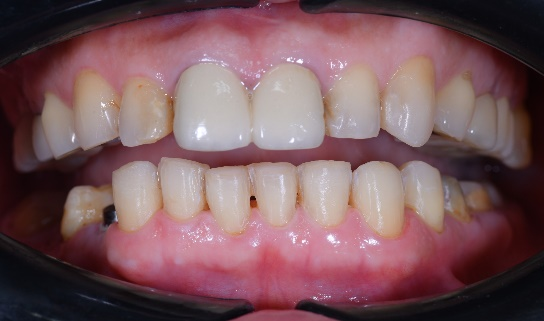
Fig 13: Patient’s intraoral view after veneers & crowns preparation
Treatment Process: Intraoral Scan
After teeth preparation, Dr. Sai used the Aoralscan 3 Wireless to capture the patient’s intraoral data. The scanner can automatically remove unnecessary soft tissue during the scan process. The process includes the scan of the upper jaw, lower jaw, and bite.
Fig 14-17: The scan process includes the upper jaw, lower jaw, right bite, and left bite
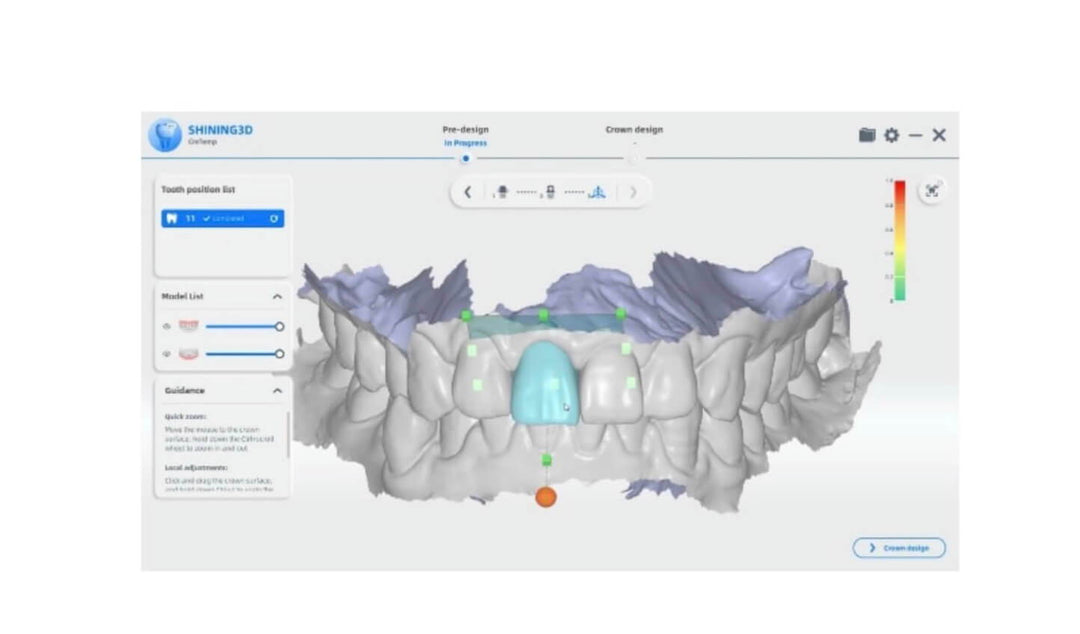
Treatment Process: Design Process
The design process is carried out using exocad dental software. The restorations focus on the lower jaw, with veneers used for teeth #33 to #43 and crowns used for the remaining teeth in the lower jaw. All of the restorations had been accurately designed in exocad.
Fig 18-20: The design process in exocad
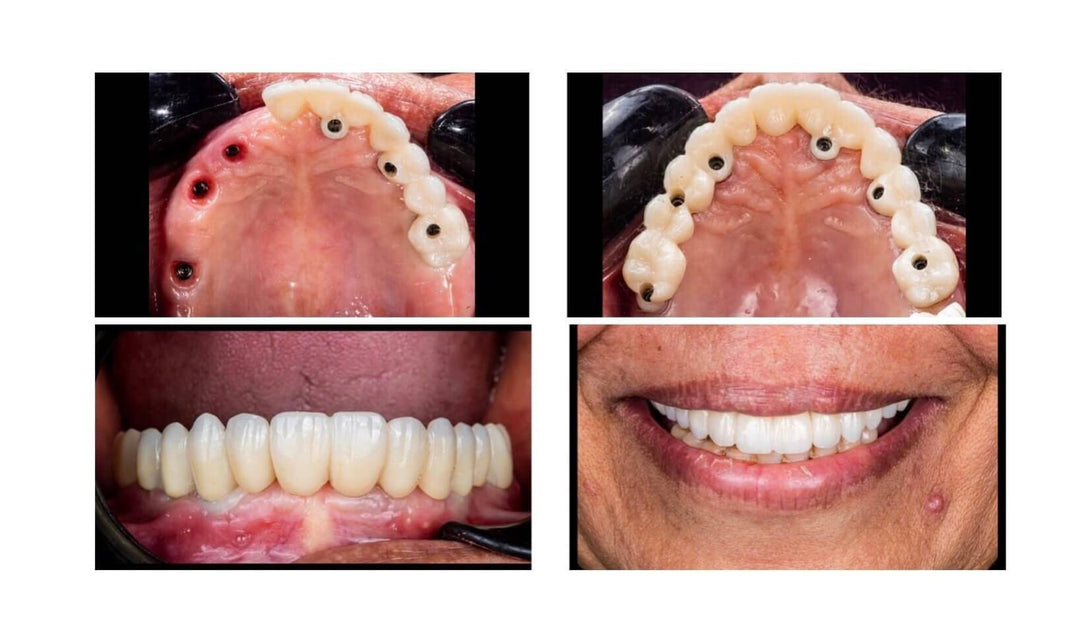
Treatment Process: Final Restorations
The final restorations were made with zirconia and placed in the cast model for checking. If there were any unsuitable aspects of the restorations, such as adjacency, occlusion, or shape, they can be adjusted at this step.
Fig 21-23: Veneers & crowns on cast model
Fig 24-26: Implant crowns on cast model
Treatment Process: Fixed Restorations for Patient
The restorations were placed in the patient’s mouth and cemented with a permanent binder. The patient accepted the slight colour difference between her upper and lower jaw. She was very satisfied with the treatment result, as it not only helped her get rid of temporomandibular joint pain (TMJ pain) but also reconstructed her occlusion and improved her chewing function.
Fig 27-29: Patient’s intraoral view after cementation
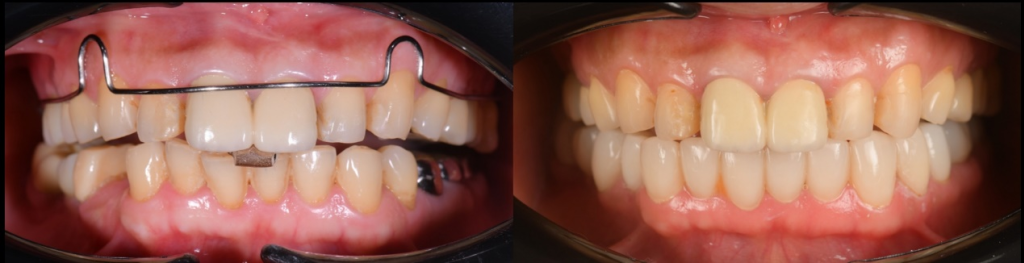
Fig 30: Intraoral anterior view before and after treatment
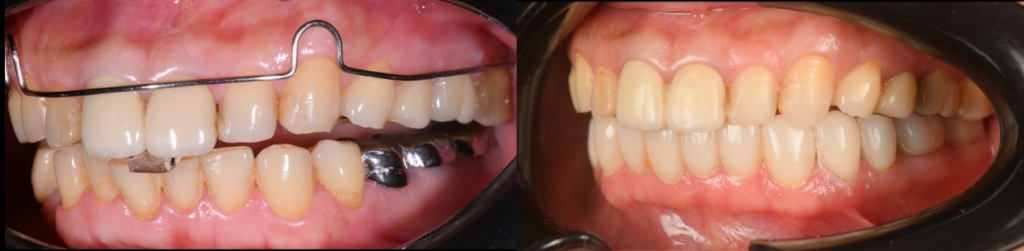
Fig 31: Intraoral left side view before and after treatment

Fig 32: Intraoral right side view before and after treatment
About Dr. Sai Aom Kham
This case comes from Dr. Sai Aom Kham (Fig 33), founder of Grand Family Dentistry & Implant Center, the experienced dentist for DSD treatments and certified dentist for dental photography who always uses cutting-edge digital technology to better serve his patients.
Fig 33: Dr. Sai Aom Kham


Leave a comment