FULL MOUTH REHABILITATION CASE WITH OUR AORALSCAN 3 INTRAORAL SCANNER
With the widespread use of intraoral scanners in the dental industry, the diagnostic and treatment processes have become more accurate and efficient. Now, wireless intraoral scanners have hit the market due to their flexibility, convenience, and intelligence. It is also gradually applied in full-mouth rehabilitation treatment.
In IDS 2023, SHINING 3D launched its new Aoralscan 3 wireless, which garnered great attention. Now more and more dentists are using it in their daily workflow.
Today’s case is coming from an experienced dentist from Myanmar. Dr. Sai Aom Kham, who founded theGrand Family Dentistry & Implant Center and dedicated himself to digital technology to help patients restore their smiles.
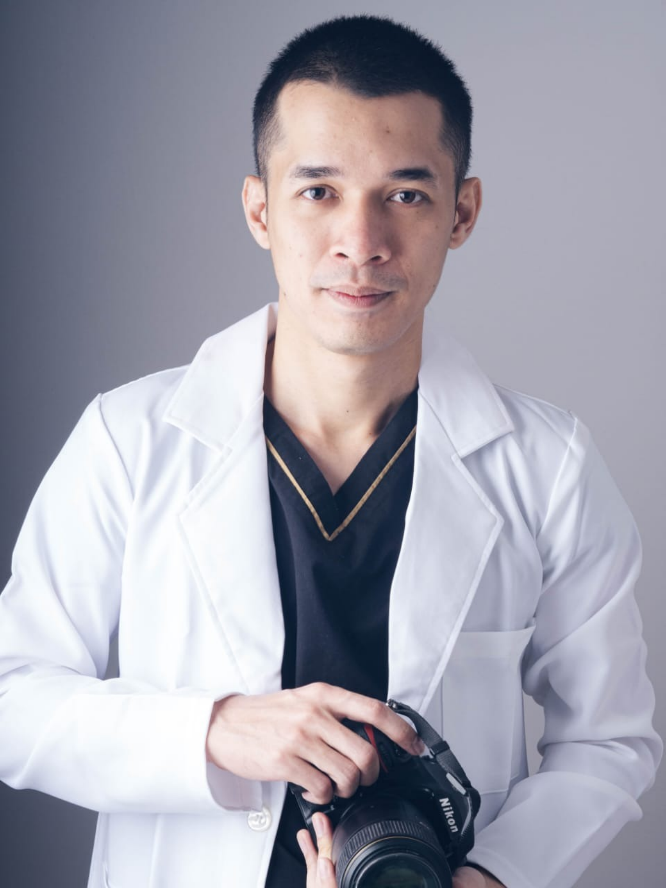
Fig 1: Dr. Sai Aom Kham
Case Profile
- Gender of the patient: Male
- Age of patient: 60 years old
- Chief complaint: The patient is suffering from chewing and pronunciation problems resulting from missing teeth; he would like to replace them and achieve a long-lasting, stable treatment effect.
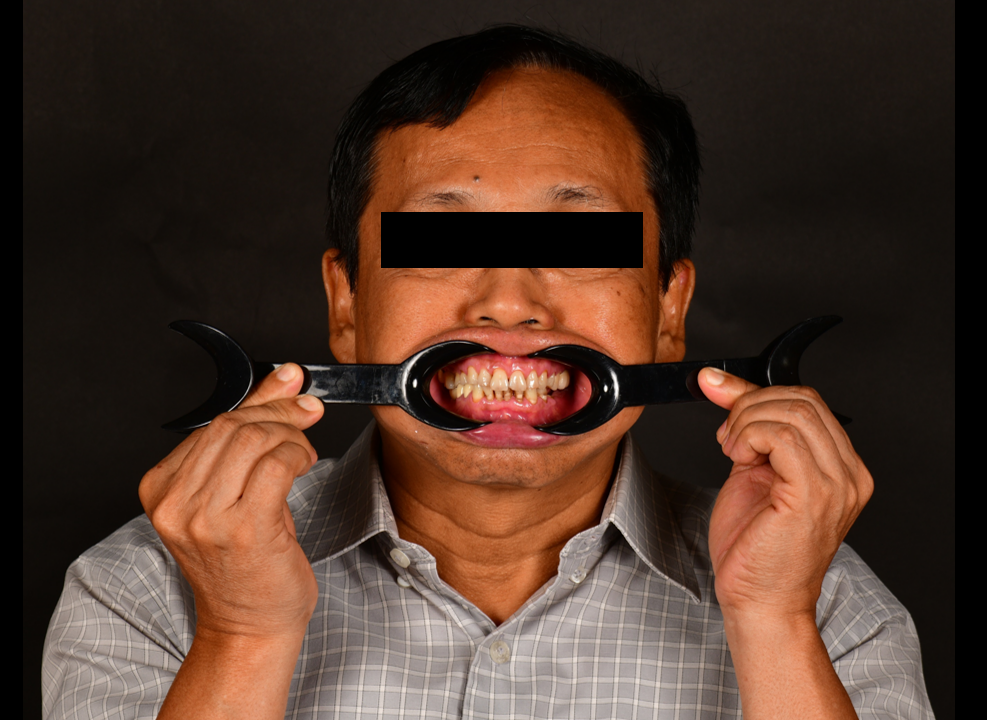
Fig 2: Front view of patient’s initial condition with mouth retractor
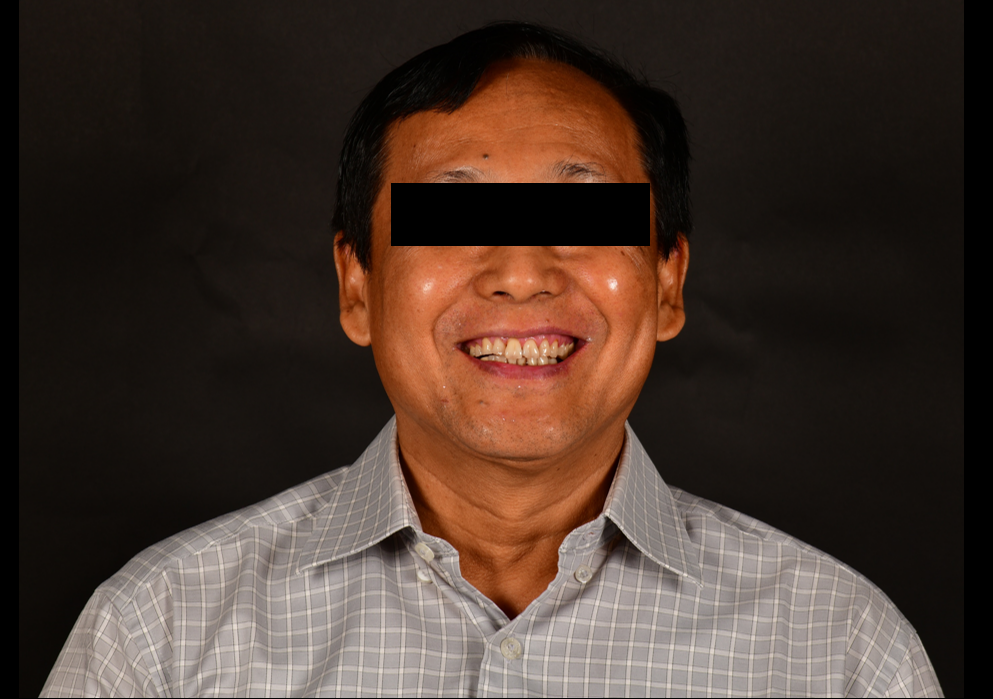
Fig 3: Smile view of patient’s initial condition
Treatment Plan
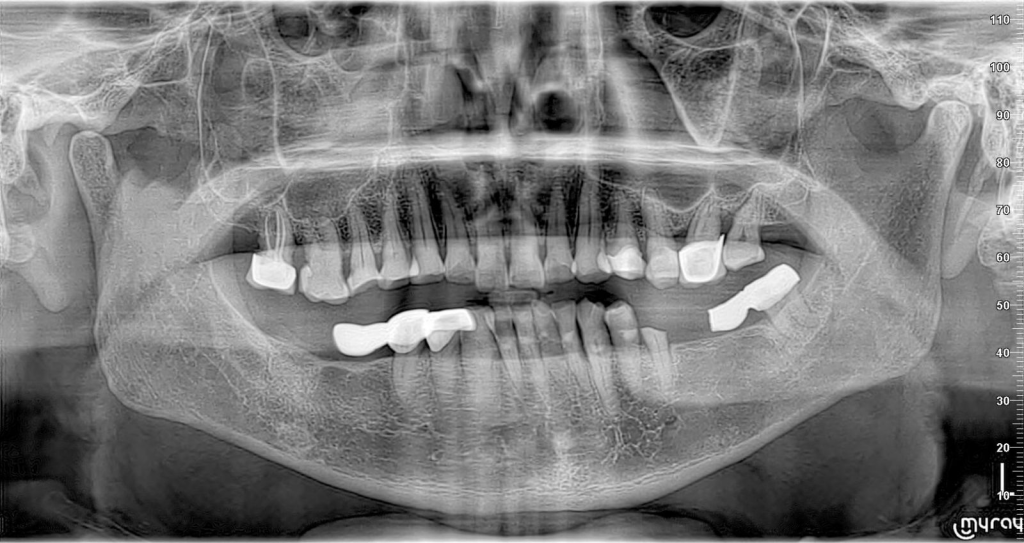
Fig 4: Extraoral radiograph of the patient (OPG view)
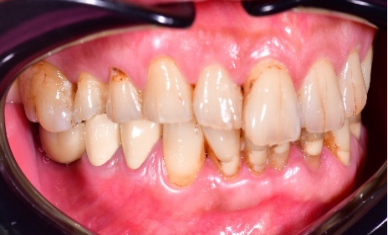
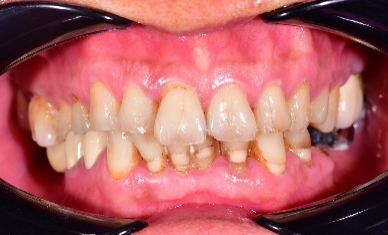
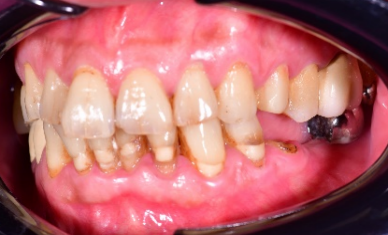
Fig 5, 6, 7: Complete intraoral view of the initial situation (left side, front side, right side)
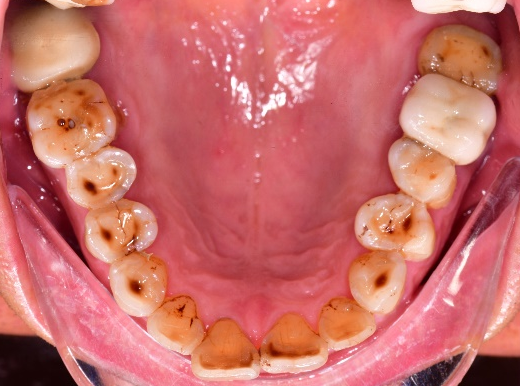
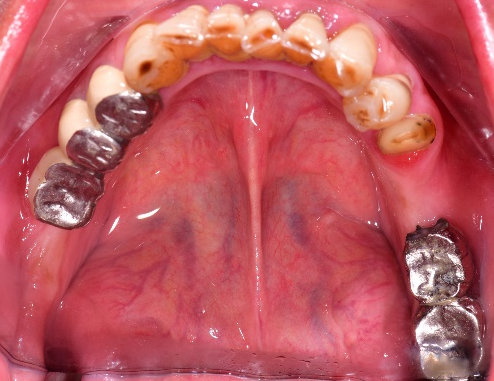
Fig 8, 9: Complete intraoral occlusal view of the initial situation (upper jaw and lower jaw)
The most efficient treatment option among many is the implant, which is expected to have the best treatment effect with long-term stability. Therefore, even though it may be a little expensive, patients are willing to pay for the best results.
The final treatment plan includes removing bad restorations and carious teeth in both the upper and lower jaw, performing implant surgery, as well as having crown and veneer restorations. This is a full-mouth rehabilitation treatment plan.
Treatment Process: Implant Surgery
The dentist plans to place two implant bodies in the left lower jaw and another two implant bodies in the right lower jaw, guided by an implant surgery guide.
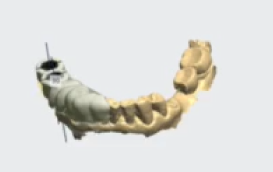
Fig 10: The design process of implant surgery guide.
The implant surgery guide was sliced in Accuware to make it ready for printing in AccuFab-L4D with resin SG01. The AccuFab-L4D printer is extremely accurate and super-fast, allowing dentists to print various types of surgery guides in-house.

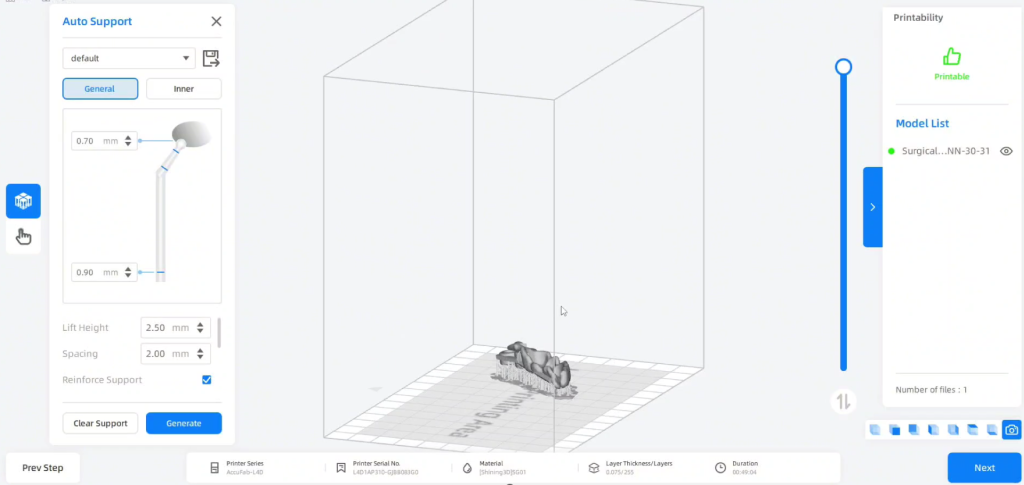
Fig 11,12: The slicing process by Accuware
After the implant surgery, a CBCT scan is taken again to ensure that the implant bodies are in the correct position as planned before (Fig 13).

Fig 13: CBCT of the patient.
Treatment Process: Mock Up
Several months later, the surgical wound has healed and osseointegration is good. The patient returned for upper restorations.
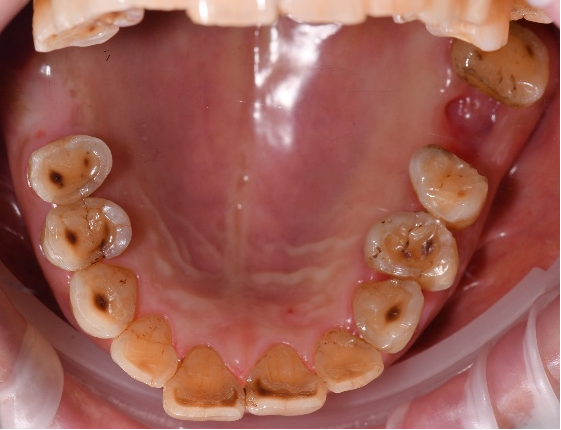

Fig 14,15: After crowns removal & implants.
To achieve a better aesthetic result, the dentist first created a mock-up so that the patient could see what their teeth would look like after the treatment. Additionally, the mock-up serves as a helpful guide during teeth preparation.
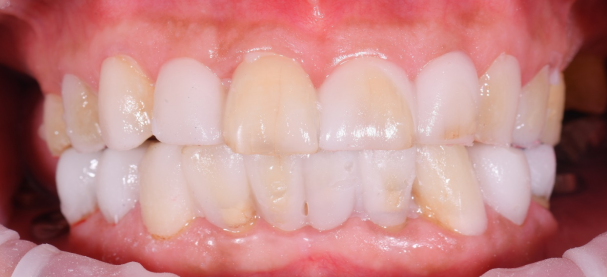
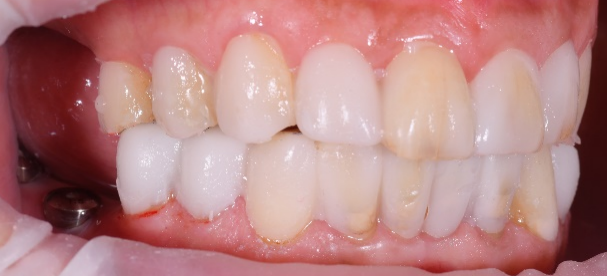
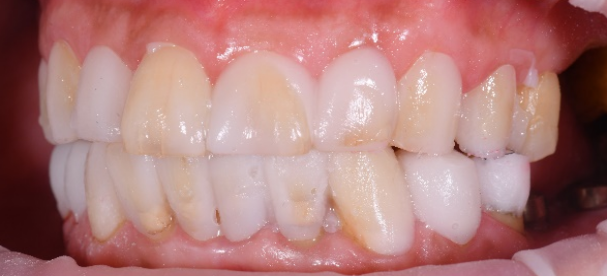
Fig 16, 17, 18: Physical mock-up before preparation
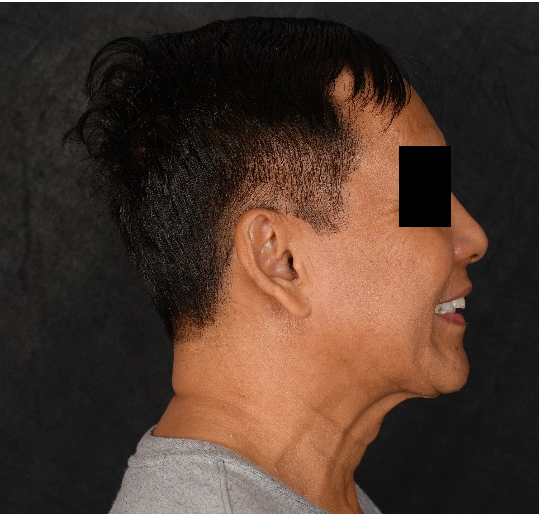
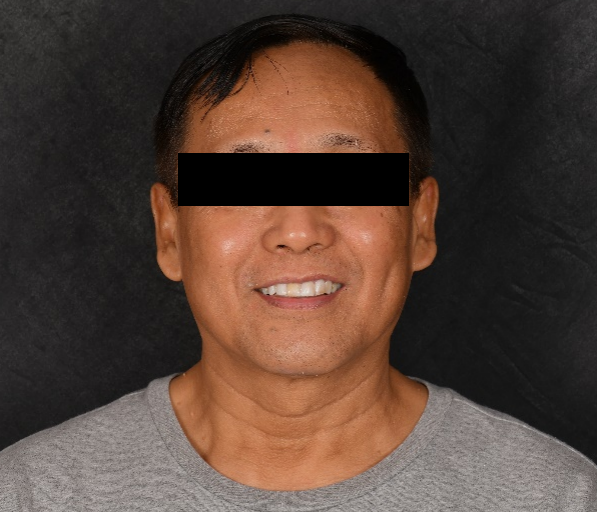
Fig 19,20: A mock-up of the patient’s teeth
Treatment Process: Teeth Preparation
To ensure the preservation of a patient’s teeth to the greatest extent possible, the dentist employs minimally invasive tooth preparation techniques.
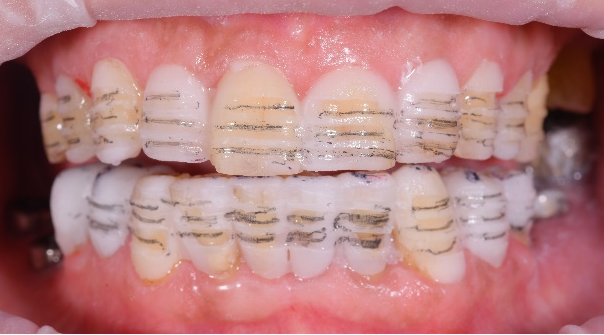
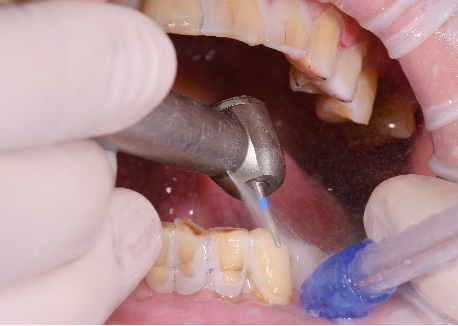
Fig 21,22: Veneer & crown preparation in progress
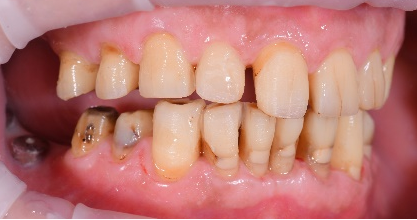
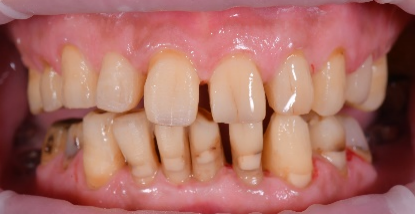

Fig 23, 24, 25: Intraoral view of patient after veneers & crowns preparation
He also focuses on restoring the gingiva, which is an essential part of maintaining oral health and aesthetics by performing a gingivectomy treatment, making it back to normal physiological shape and function.
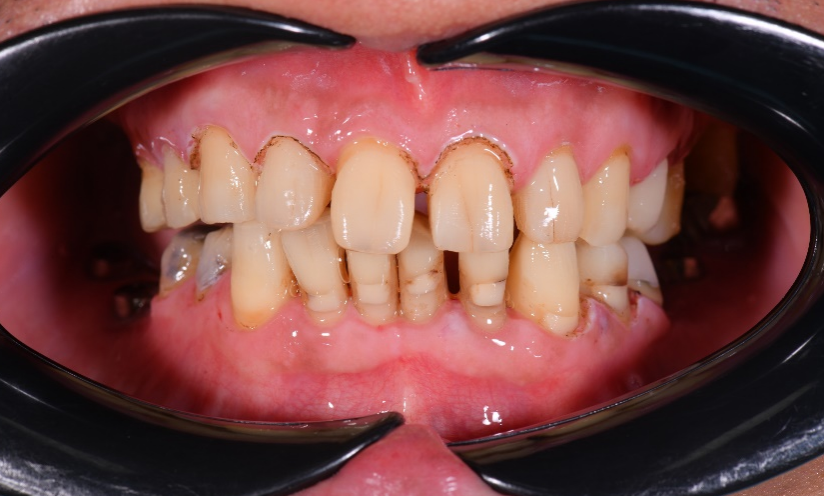
Fig 26: After gingivectomy treatment
Furthermore, determining the shade of restoration is another crucial step in achieving optimal results for patients. Dr. Sai carefully assesses factors such as natural tooth colour, translucency and overall esthetics when selecting restorative materials that closely match his patient’s existing teeth.
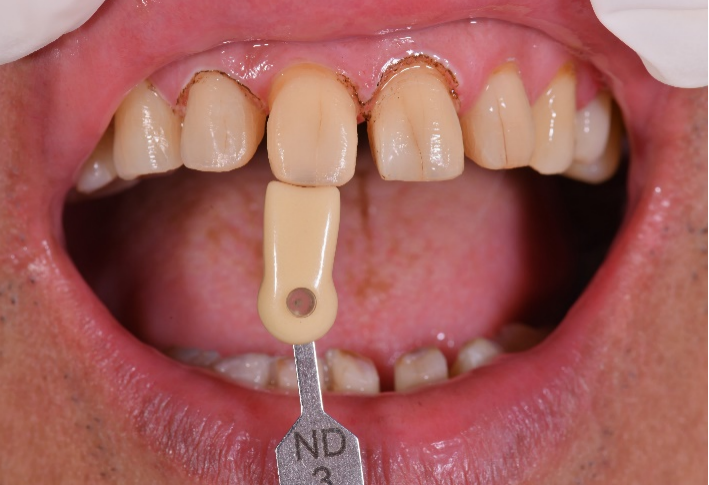
Fig 27: Teeth shade determination
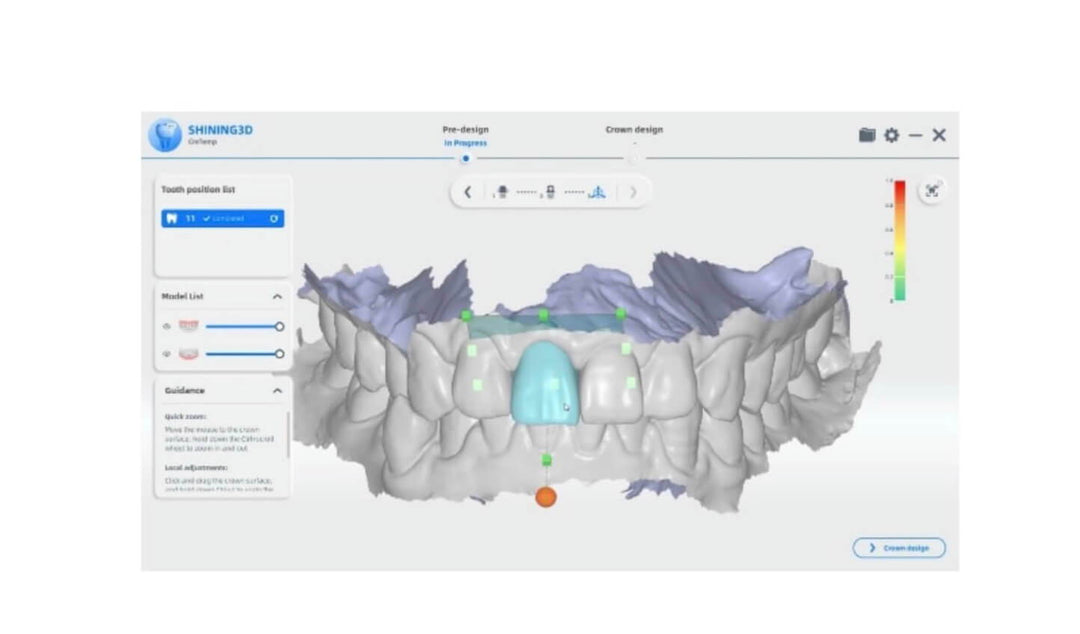
Treatment Process: Scan and Design
The Aoralscan 3 wireless is used to capture detailed oral information.
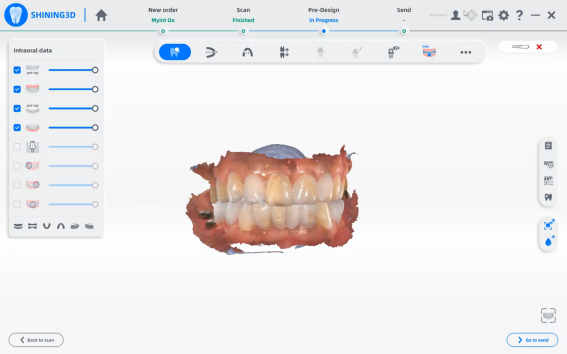
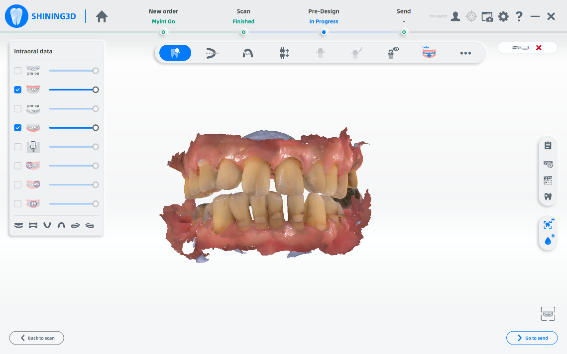
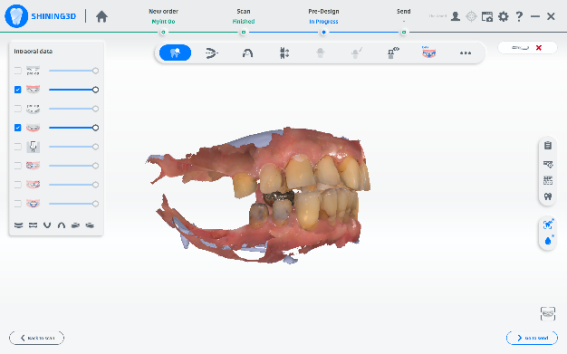

Fig 28,29,30,31: Complete intraoral scanning including the occlusion for a complete diagnosis of the patient.
It can capture the data of the mock-up as pre-op data and the preparation teeth as normal upper and lower jaw. All the data can be imported into exocad (Fig 32, 33).
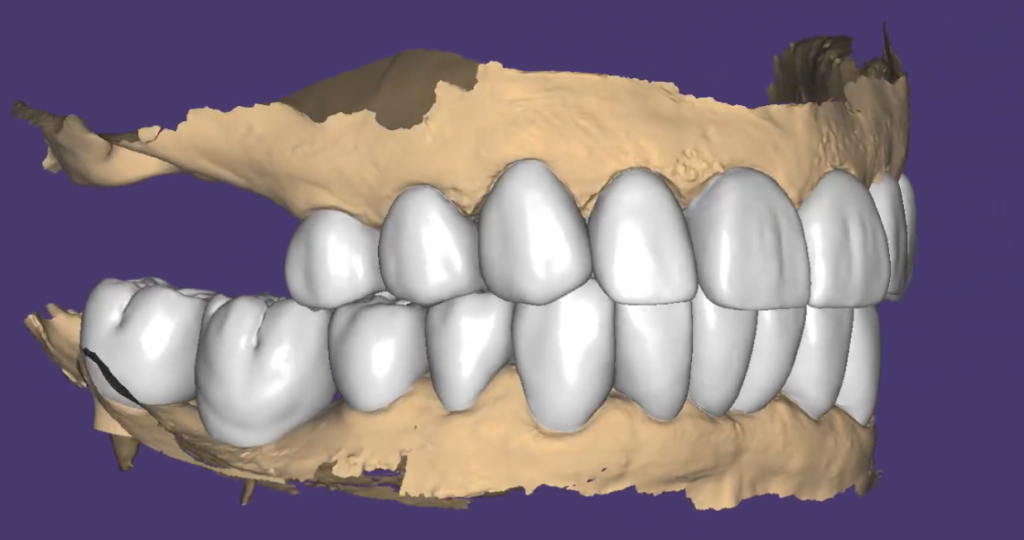
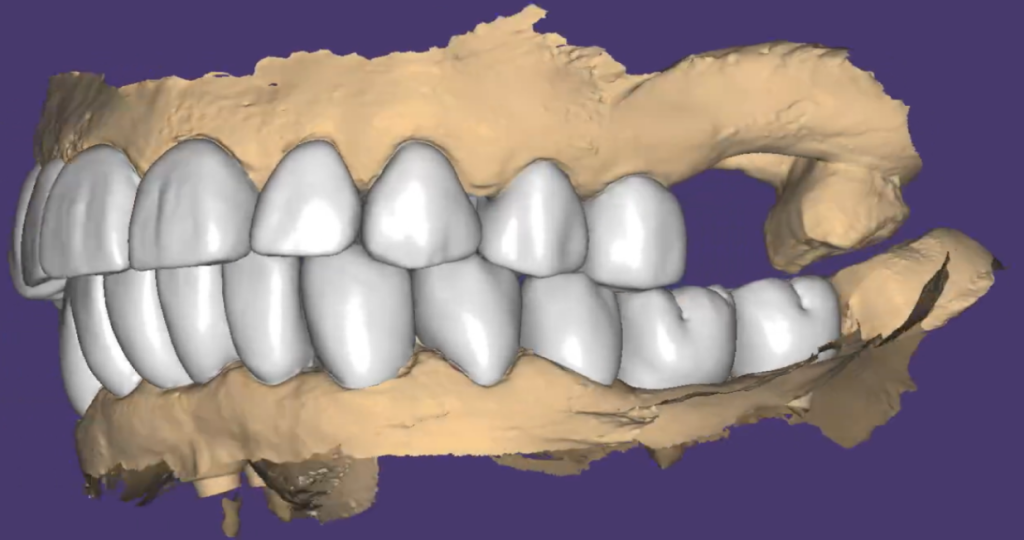
Fig 32, 33: The design process in exocad involves veneers in the anterior area and crowns in the posterior area.
Treatment Process: Final Restorations and Try-in
The final restorations were made of zirconia. Before the patient returned, the dentist tried the restorations on the cast model, and they fit well. After cementing the teeth into the patient’s mouth, there was a significant change in his teeth, and he was very satisfied with his new smile.
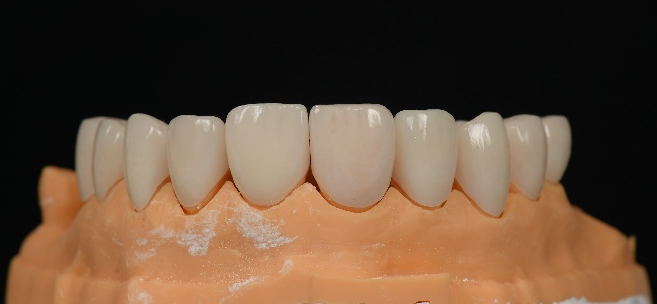
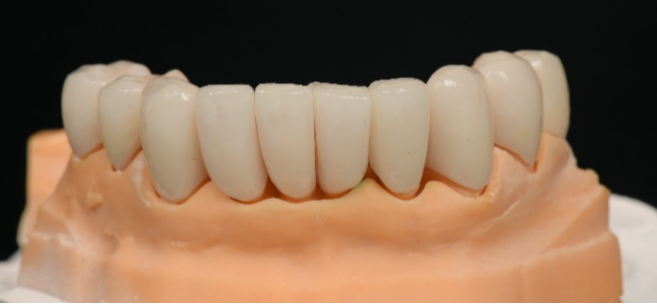
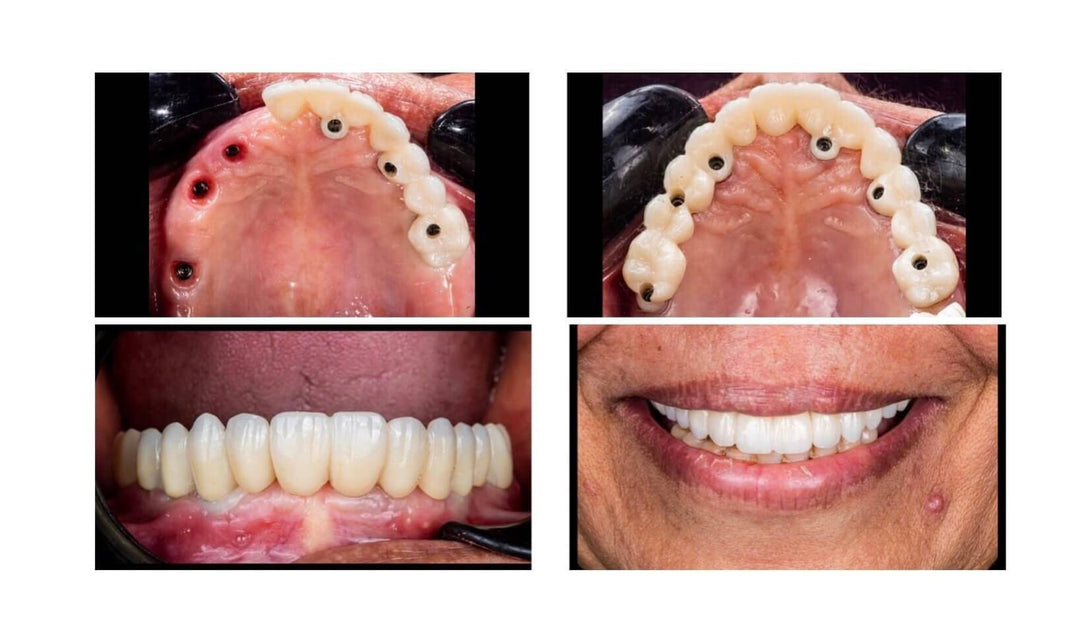
Fig 34, 35: Veneers & crowns on cast model
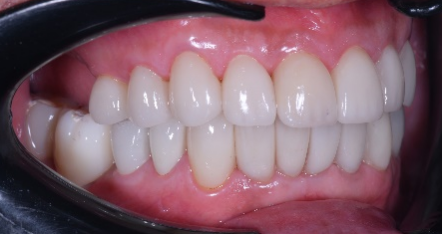
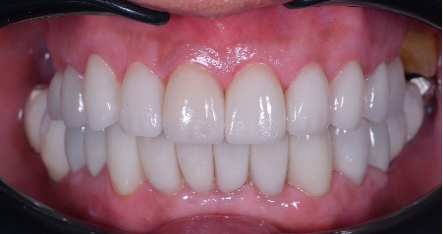
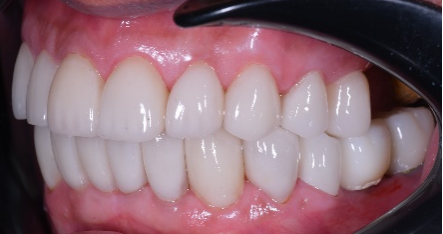
Fig 36,37,38: Intraoral view of patient after cementation
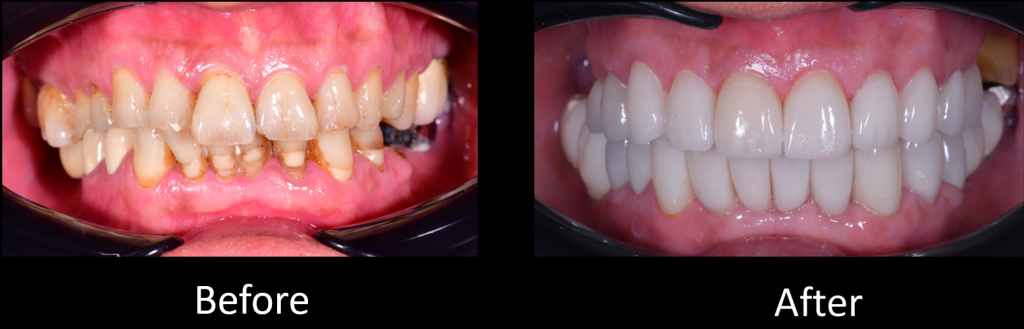


Fig 39,40,41,42: The comparison before and after treatment.
This is a complete example of using an intraoral scanner to treat a patient’s teeth and achieve full mouth rehabilitation.


Leave a comment